
LiteLLM Setup

While I’m waiting for my Nanochat training to complete (it’s about half done), I decided to set up LiteLLM on my MacBook. That will allow me to set up completely local AI workflows for being completely offline (such as on an Airplane) but also make it easy to leverage frontier models with a quick model selection. LiteLLM is a model proxy server that exposes an OpenAI compliant REST API for other tools to consume. In my case, Roo Code would be an example tool I’ve got in mind.
For this article I’m just going to walk through the basic set up of LiteLLM to the point where it can proxy calls the OpenAI. In later steps I’ll set up ollama to also serve up (and proxy through LiteLLM) locally run models. And Probably Open Web UI to act as a web front end, because why not.
The easiest way to manage this family of services will be using docker compose. That will allow me to define the configuration of all the services in one spot. That’s particularly valuable here because these services need to share keys and URLs to communicate with each other.
Here are the steps I followed to get this up and running on my MacBook. With the exception of setting up docker, you can follow the same steps on other Unix variants.
First, we set up docker. I’d like to go completely headless here, but there were too many steps on the Mac so I went with Docker Desktop. I may revisit this in the future, but Docker Desktop does offer a nice UI for seeing the sate of running containers, accessing logs, and launching shells inside the container should you need it. I used Brew to install it for simplicity:
brew install --cask docker
After that start up Docker Desktop by finding it in Launchpad or Spotlight. Next, we create a directory for the docker compose and LiteLLM configuration as well as a data directory for LiteLLM:
mkdir -p ~/Docker/LiteLLM
cd ~/Docker/LiteLLM
mkdir data
Then we create docker_compose.yml file. This describes the family of services I mentioned above. We’ll start with just LiteLLM and Postgres. LiteLLM can proxy on its own but with Postgress we get a snazzy UI and access to user authentication (necessary for the web UI), logging, usage tracking, rate limits, and billing tracking. You’ll need to substitute <your_postures_password>, <openai_api_key>, and <litellm_master_key> with your values. I generated the password and master key as long strings of random characters with my password manager. And the OpenAI API key can be found at platform.openai.com.
services:
  postgres:
    image: postgres:16
    container_name: postgress
    restart: always
    environment:
      POSTGRES_USER: litellm_user
      POSTGRES_PASSWORD: "<your_postgres_password>"
      POSTGRES_DB: litellm_db
    volumes:
      - ~/Docker/LiteLLM/postgres_data:/var/lib/postgresql/data
    ports:
      - "5432:5432"

  litellm:
    image: ghcr.io/berriai/litellm:main-latest
    container_name: litellm
    restart: always
    depends_on:
      - postgres
    environment:
      OPENAI_API_KEY: "<openai_api_key>"
      DATABASE_URL: "postgres://litellm_user:<your_postgress_password>@postgres:5432/litellm_db"
      LITELLM_LOG: "INFO"
      LITELLM_MASTER_KEY: "<litellm_master_key>"
    ports:
      - "4000:4000"
    volumes:
      - ~/Docker/LiteLLM/config.yaml:/app/config.yaml
      - ~/Docker/LiteLLM/data:/app/data
    command: --config /app/config.yaml
Most of the configuration here is pretty boilerplate. The thing to note is the path mappings. I’ve mapped all the configuration and data for Postgres and LiteLLM to directories and files underneath ~/Docker/LiteLLM. Note that LiteLLM requires a configuration file as well, so we’ll also need to create a config.yaml in that same directory. It will be simple for now as we’re just going to test with one OpenAI model:
model_list:
  - model_name: gpt-3.5
    litellm_params:
      model: gpt-3.5-turbo
      api_key: "os.environ/OPENAI_API_KEY"
With that, we should be able to start the container set (or composition, I suppose). In the directory where our docker_compose.yaml is we can just issue the compose up command which will start the containers defined there with the configuration we’ve provided:
docker compose up
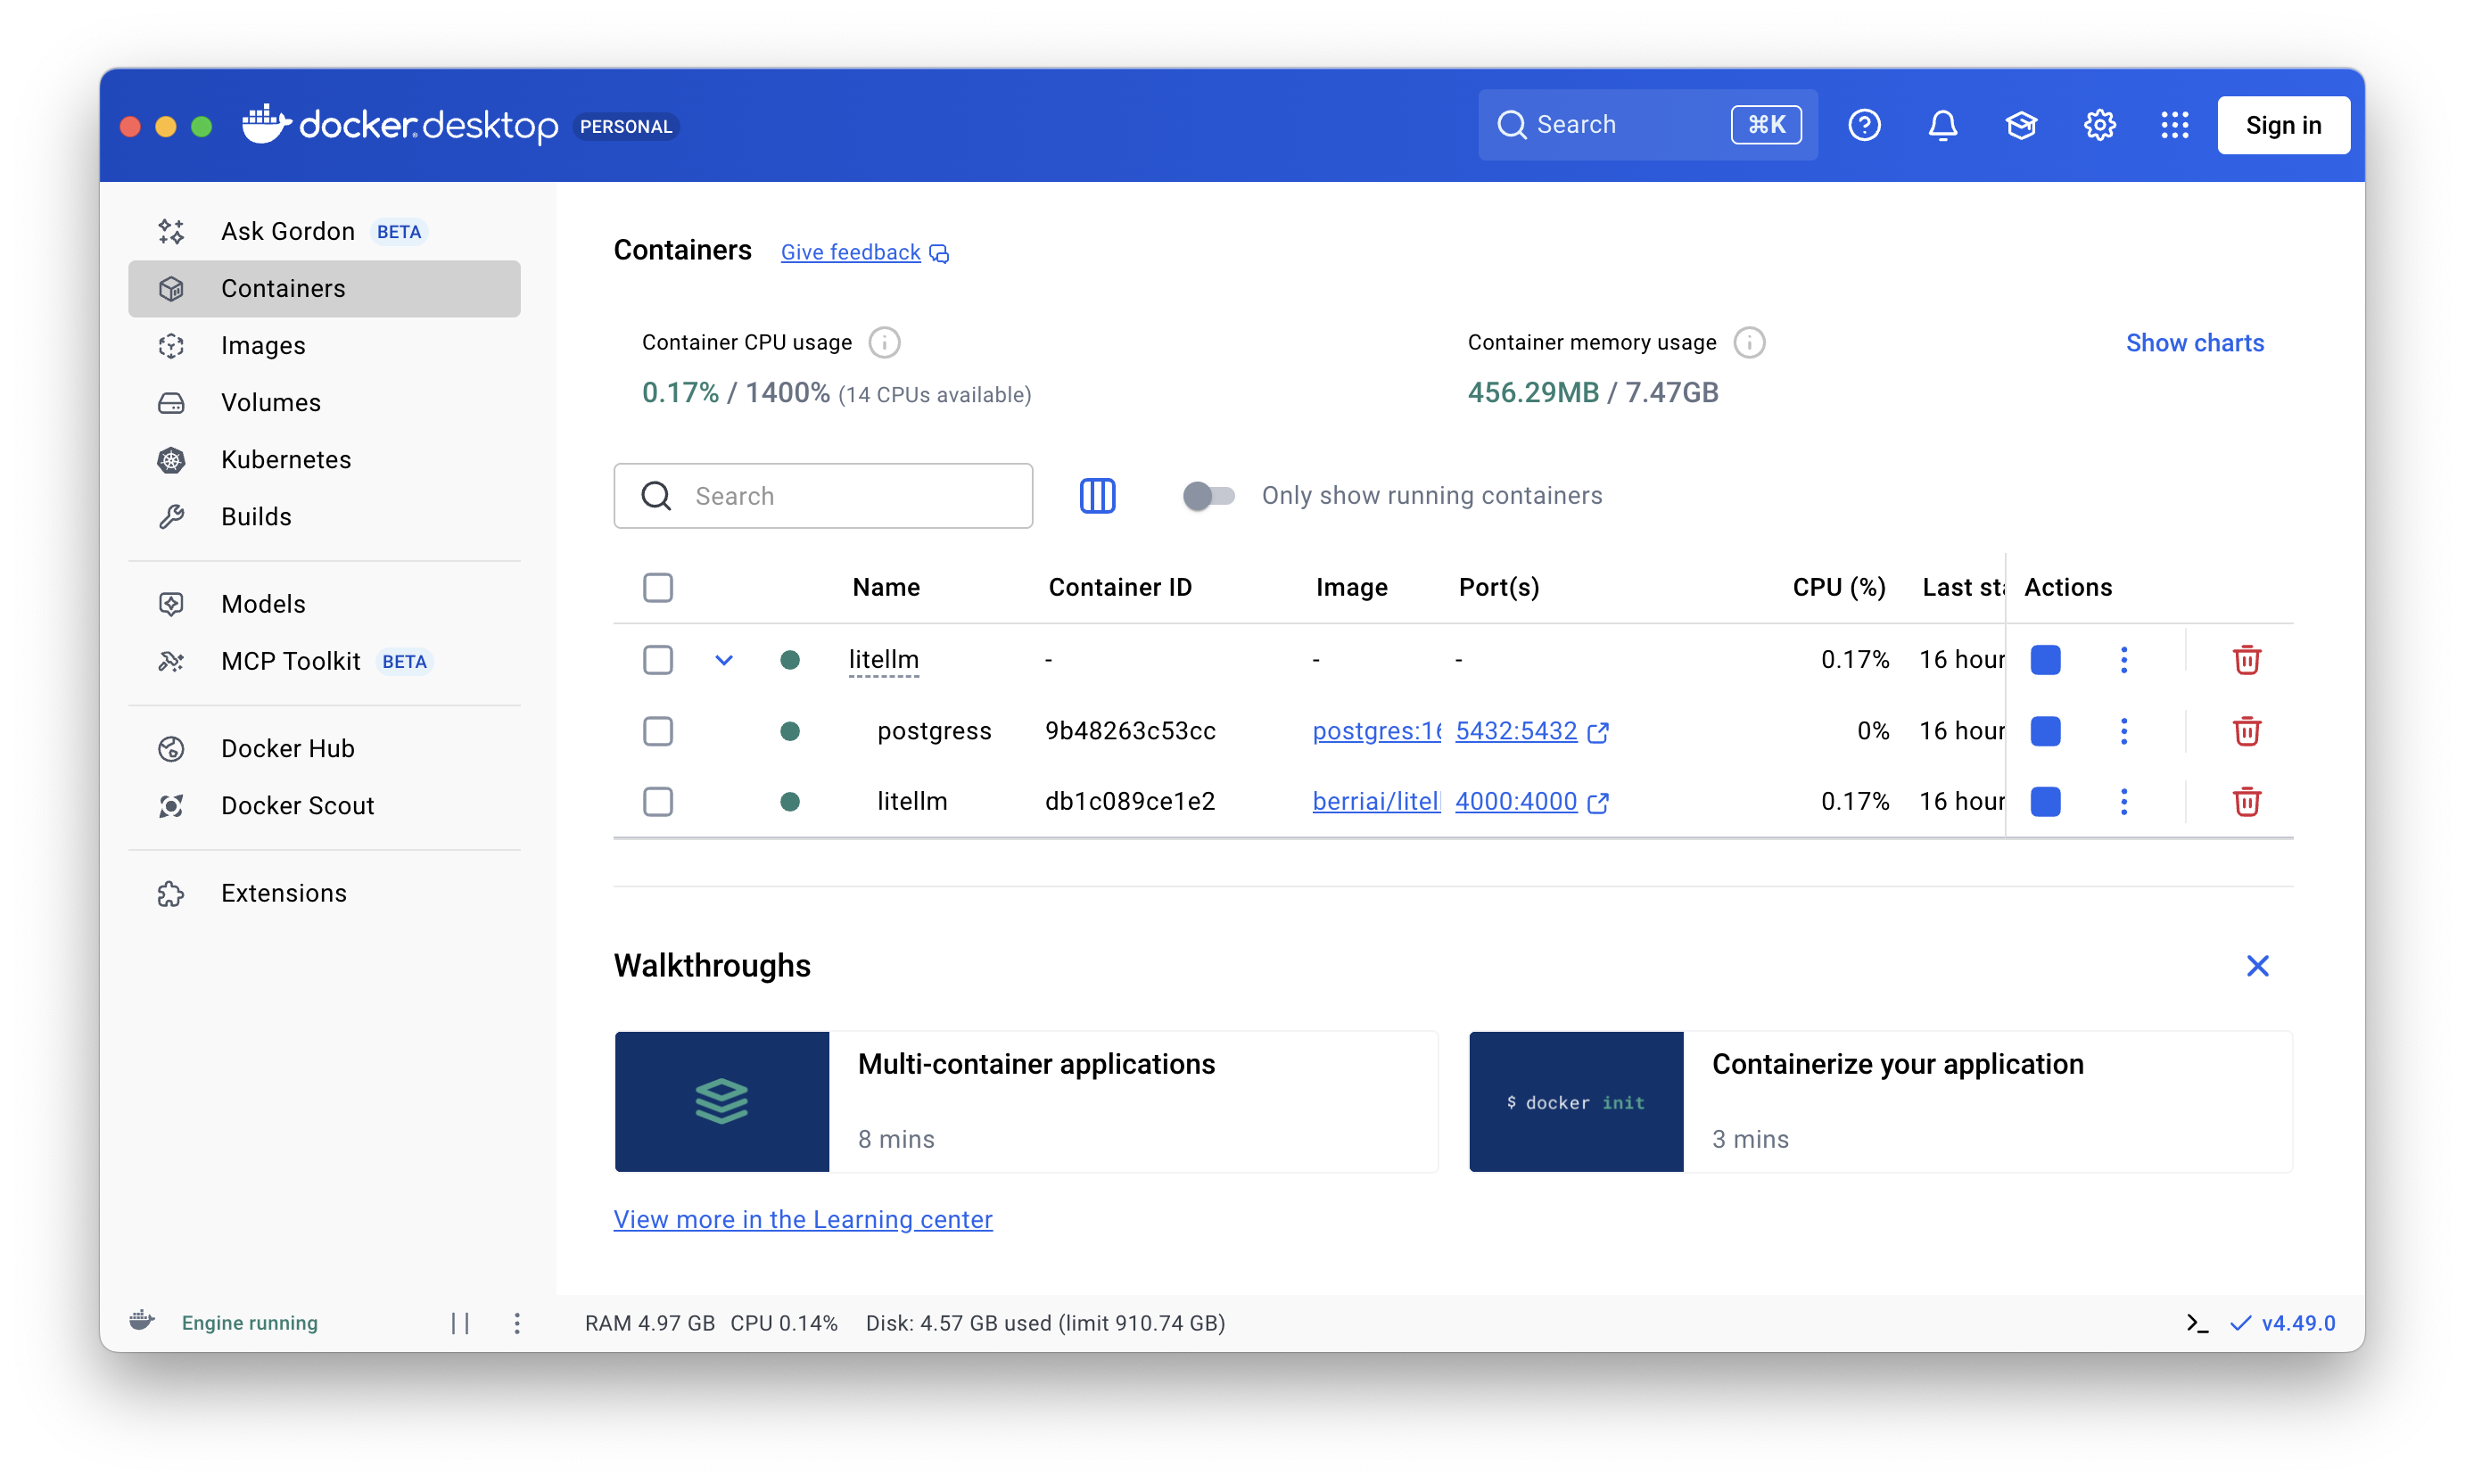
That will show us the running containers in Docker Desktop:
And now we can navigate to the web UI at http://localhost:4000/ui


